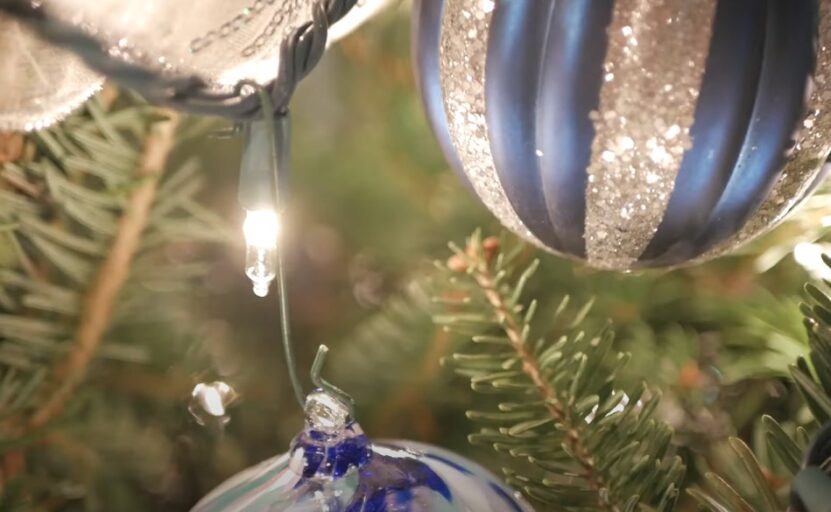
The holiday season has arrived, and it’s time to deck the halls with dazzling lights! It’s always a magical sight to see your home lit up in colorful, twinkling splendor. But what happens when you plug in your Christmas lights only to find that one pesky bulb isn’t shining bright?
Fear not! With a little patience and some detective work, you can find the bad bulb on your Christmas lights without a tester. In this comprehensive guide, we’ll teach you the ins and outs of pinpointing that troublesome bulb, ensuring your holiday decorations remain a beacon of festive cheer.
Common Malfunction Causes
1. Burnt-Out Bulbs
One of the most common reasons Christmas lights fail is simply due to burnt-out bulbs. Over time, the filament within the bulb can wear out, causing it to burn out and cease functioning.
2. Loose or Damaged Sockets
Loose or damaged sockets can cause your Christmas lights to malfunction. A loose bulb may cause an incomplete electrical circuit, leading to a section of the strand not lighting up. Damaged sockets can also result from mishandling or exposure to the elements.
3. Frayed or Damaged Wires
Frayed or damaged wires can lead to malfunctions in your Christmas lights. Wires can become damaged due to age, wear and tear, or improper storage. Damaged wires can not only cause your lights to fail but also pose a safety hazard.
4. Overloaded Circuits
Overloading your home’s electrical circuits with too many Christmas lights can lead to malfunctions or, in severe cases, an electrical fire. It’s essential to be mindful of your home’s electrical capacity and avoid overloading circuits.
5. Faulty Fuses

Many Christmas light strands have built-in fuses to protect them from electrical surges. A blown fuse can cause an entire strand of lights to go dark.
Preliminary Steps
Before you start your hunt for the bad bulb, ensure your safety and the effectiveness of your troubleshooting efforts with these preliminary steps:
- Unplug the lights: Always unplug your Christmas lights before examining them. This will keep you safe from any potential electrical hazards.
- Check for obvious issues: Inspect the entire strand for visible problems, such as broken or missing bulbs, damaged sockets, or frayed wires. These can be the source of the malfunction.
- Replace missing or broken bulbs: If you find any damaged or missing bulbs, replace them with new ones. Be sure to use the same type and voltage to maintain uniformity and avoid overloading the strand.
- Test your lights: Plug your lights back in to see if the issue is resolved. If not, continue with the following techniques to find the problematic bulb.
The Sliding Finger Technique
This method involves gently pressing each bulb to locate the bad one. Here’s how you do it:
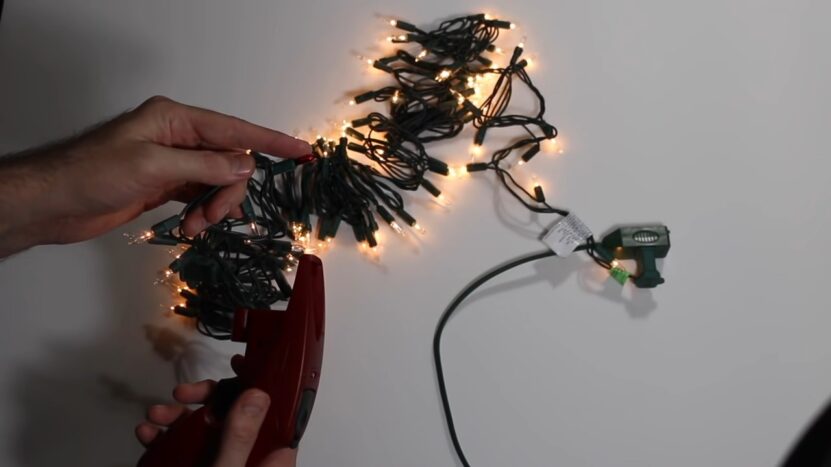
- Unplug your lights and lay the strand on a flat surface.
- Starting at one end, place your thumb and index finger on the first bulb.
- Apply slight pressure to the bulb, ensuring it’s seated properly in the socket. Do not press too hard, as this could damage the bulb.
- Move on to the next bulb and repeat the process, working your way down the entire strand.
- Once you’ve checked all the bulbs, plug the strand back in. If the lights are still not working, it’s time to try the next method.
The Twist and Shake Method
This technique involves gently twisting and shaking each bulb to locate the loose or faulty one:
- Unplug your lights and lay the strand on a flat surface.
- Starting at one end, grasp the first bulb between your thumb and index finger.
- Gently twist the bulb clockwise and counterclockwise, ensuring it’s properly screwed into the socket.
- Give the bulb a gentle shake to see if it’s loose or if the filament is broken.
- Move on to the next bulb and repeat the process, working your way down the entire strand.
- Once you’ve checked all the bulbs, plug the strand back in. If the lights are still not working, move on to the next method.
The Foil and Battery Trick
This technique uses a small battery and aluminum foil to test individual bulbs. Here’s how you do it:
- Unplug your lights and lay the strand on a flat surface.
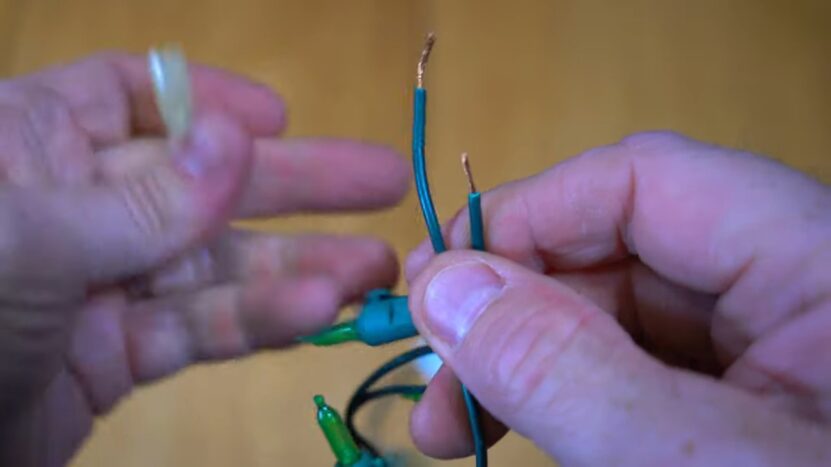
- Cut a small piece of aluminum foil (about 1 inch by 1 inch) and fold it in half.
- Hold a AA or AAA battery in one hand and place the foil between the positive and negative terminals of the battery.
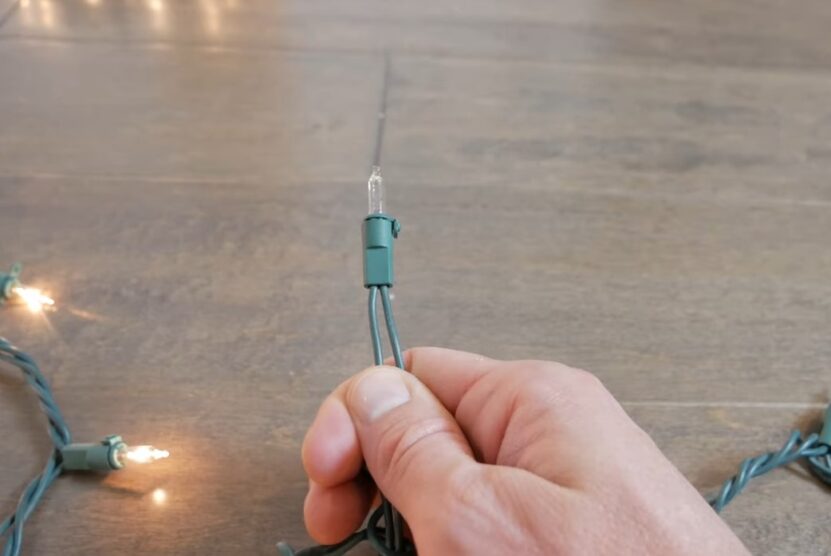
- Carefully remove one bulb from the strand, taking note of its position in the sequence.
- Touch the base of the removed bulb to the battery’s positive terminal and the bulb’s metal tip to the negative terminal (foil in between).
- If the bulb lights up, it’s functioning correctly. If it doesn’t, you’ve found the bad bulb. Replace it with a new one and check the strand again.
- If the bulb is functional, place it back in its socket and move on to the next bulb. Repeat this process for each bulb in the strand.
- Once you’ve tested all the bulbs, plug the strand back in. If the lights are now working, congratulations! If not, there might be an issue with the wiring or a fuse. Check the manufacturer’s instructions for information on fuse replacement and further troubleshooting.
Tips and Tricks for Maintaining Your Christmas Lights
To ensure your holiday lights continue to shine brightly, follow these simple maintenance tips:
- Store your lights carefully: When the holiday season is over, wrap your lights around a sturdy cardboard tube or a plastic reel to prevent tangling and damage.
- Keep spare bulbs handy: Purchase extra bulbs that match your Christmas lights’ specifications, so you can quickly replace any faulty or damaged ones.
- Inspect your lights annually: Before you hang your lights, check for frayed wires, damaged sockets, and broken or missing bulbs. Replace any damaged components before using the strand.
- Use a surge protector: Plug your Christmas lights into a surge protector to safeguard them from electrical surges that could cause damage.
- Don’t overload circuits: Be mindful of your home’s electrical capacity and avoid overloading circuits with too many strands of lights.
Closing Thoughts
Finding the bad bulb on your Christmas lights without a tester can be a simple and rewarding process. With a little patience and attention to detail, you can keep your holiday decorations shining bright for years to come. Remember to prioritize safety by unplugging your lights during troubleshooting and following proper maintenance practices. Happy holidays, and may your home sparkle with festive cheer!